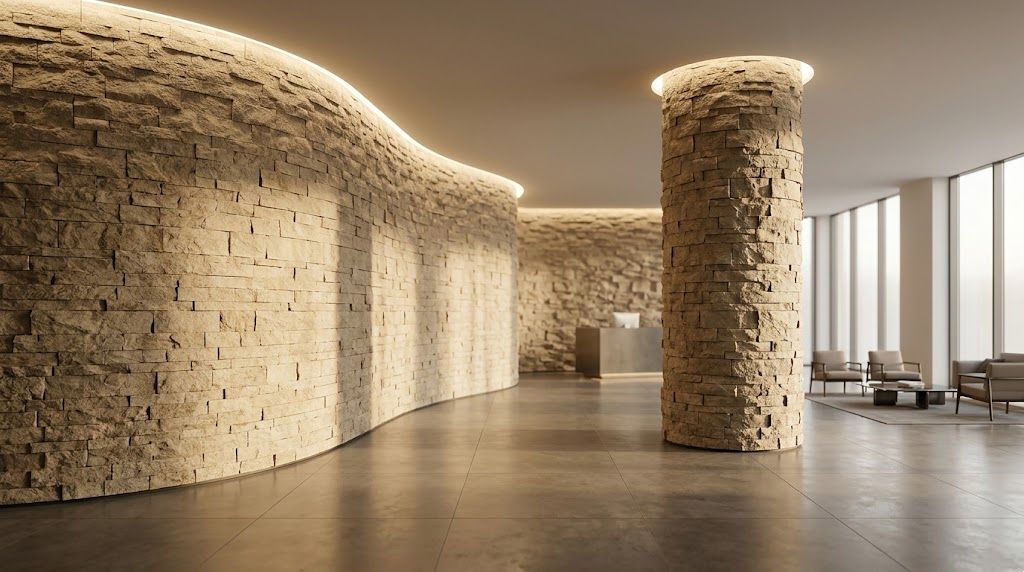
Architectural designs are increasingly incorporating curved features, sweeping archways, and structural columns. Traditional stone wall panels and heavy masonry have historically presented significant installation challenges on non-flat surfaces. The advent of flexible stone veneer (also known as soft stone or flex stone) has transformed this process, offering an ultra-thin, highly malleable solution that delivers authentic natural thin stone veneers aesthetics on virtually any curved substrate.
Before beginning the installation, ensure all substrate materials and specialized tools are ready for application.
Surfaces & Sheet Materials: Inspect your flexible stone panels or flexible stone wall panels sheets. Whether utilizing interior softstone or weather-resistant exterior stone wall panels, keep the material stored at room temperature to ensure maximum pliability.
Adhesives & Sealants: Select a heavy-duty polymer adhesive suitable for flexible stone veneer panels. For high-moisture interiors or outdoor stone wall features, ensure your adhesive and topcoat sealer match exterior rating standards.
Hand Tools: Heat gun (to increase sheet flexibility around tight radiuses), rubber roller, notch trowel, fine-toothed saw or heavy-duty shears, laser level, and painter's tape.
Ensure the curved drywall, cement board, or column surface is completely clean, dry, and structurally sound. Apply a high-grip primer to promote uniform bonding for the stone facing for walls.
Measure the curvature of the column or wall. Pre-cut the flexible stone sheet to size using standard utility shears. For tight radiuses, gently apply a heat gun across the back of the stoneflex panel. This renders the polymer resin backing extremely soft, allowing seamless wrapping around sharp corners without stress fractures.
Using a notched trowel, spread a uniform coat of structural adhesive onto the curved wall surface. For DIY projects or lightweight interior applications, premium peel and stick stone tile options can also be applied directly onto smooth substrates.
Align the pre-heated thin veneer stone sheet against the curved line. Starting from the center of the column and moving outward, press the sheet firmly into the adhesive bed. Use a rubber roller to eliminate trapped air bubbles and guarantee 100% surface contact.
For large curved installations requiring multiple sheets, butt-join the edges tightly to create a continuous tileable stone wall appearance. Wipe away excess adhesive squeezed out between joints immediately.
Allow the adhesive to cure for 24 hours. For interior projects like an interior rock wall panels feature, or exterior projects using exterior rock veneer, apply a penetrating water-resistant sealer to protect the porous stone surface against dirt, moisture, and UV rays.
Using natural wall stone aesthetics on curved architectural elements no longer requires costly masonry or labor-intensive custom stone carving. With engineered flexible stone veneer, installers can achieve a luxurious stacked stone tile or rugged rock wall tile look across any column or curved wall efficiently and reliably.



 +86 153 1870 3876
 info@speedingdecor.com

Room 102, Building 4, Tongshun Park, Qingdao Net Valley, No. 1 Tongshun Road, Chengyang High-tech Zone, Qingdao, Shandong, China.





 English
 Español


